
By creating a multi-coloured, multi-patterned design you are truly going to get the best out of digital textile printing. We print using 8 different colours to achieve a wide spectrum of colour values. Why not use them?
Does your design fit into the printable width of the fabric you have chosen?
If it’s too wide some of your artwork will be cut off. Please check on our website to find out the printable width of your chosen fabric.
Is the design to the right scale?
Too big – too small? It needs to be just right.
With over 100 print ready fabrics in stock there is plenty to choose from. With so many different compositions, widths, weights and base colours make sure the one you choose is appropriate for the final outcome of your project. Cushions, garments – everyday wear, evening wear? There is a different fabric for every scenario.
To help you to decide, we recommend that you order a pre-printed sample. This will give you a better idea of how different colours and patterns show in print.
Please ensure that all your digital files are saved in the correct format and to our printing specifications;
RGB – 180 to 300 dpi – FLATTENED – tiff or jpeg – embedded color profile
If the files aren’t saved correctly you may have issues trying to upload your order.
We have put restrictions on our file transfer facility to help ensure that files are securely received. It all helps to ensure that the artwork is printed correctly. We aim for crisp images and smart colour reproduction. Not saving a file correctly may incur shifts in the layers, poor colour reproduction, ‘soft’ or blurred artwork, etc. – all causing generally unsatisfactory results.
-Files to be no longer than 5M
-Ensure your files are all RGB with a colour profile embedded. The standard default seems to be sRGB but if you are trying to achieve bright/bold colours you could try the Adobe RGB 1998.
-A minimum resolution of 180dpi (max 300dpi).
-Make sure that the canvas itself is the correct size/scale that you want it printed at – i.e. 100cm not 1000cm, and that it does not exceed the printable width of your chosen fabric.
-All layers are flattened.
-Saved with no compression.
-Don’t zip files
-Alternatively, you could send a jpeg file instead of a tiff, to further reduce the file size.
Carefully check your files. Zoom in to review your artwork at 100% scale, as this is the size your artwork will be printed at. If you’re happy that the files are saved correctly and looking just how you would like them to, then use our file transfer facility to submit your order. If your Internet connection is slow, it may take some time to upload your images. Try and reduce the file size if possible.
 Our ‘Checklist – Optimise your files’ section may help.
You can be assured that all the orders submitted through our website reach us correctly. You will receive a confirmation email detailing the order you have placed. This process will download your files directly into our processing system and will be actioned as quickly as possible. No need for seperate order forms, waiting for our team to download and prepare your file or order – we’ve got everything we need with the click of the submit button, to get on with it. And don’t worry, we will contact you should we have any queries regarding your order.
We strongly advise that you do sample prints of your artwork (minimum order 1m) before any bulk orders are needed. This step is ideal to test colours and outcomes of your digital files on the fabrics of your choice. Once you have approved the outcome, larger orders can be placed with confidence.
If you have tried a different printing company before coming to The Silk Bureau, please be aware that our printing will look different. Do not rely on tests printed elsewhere.
If you ha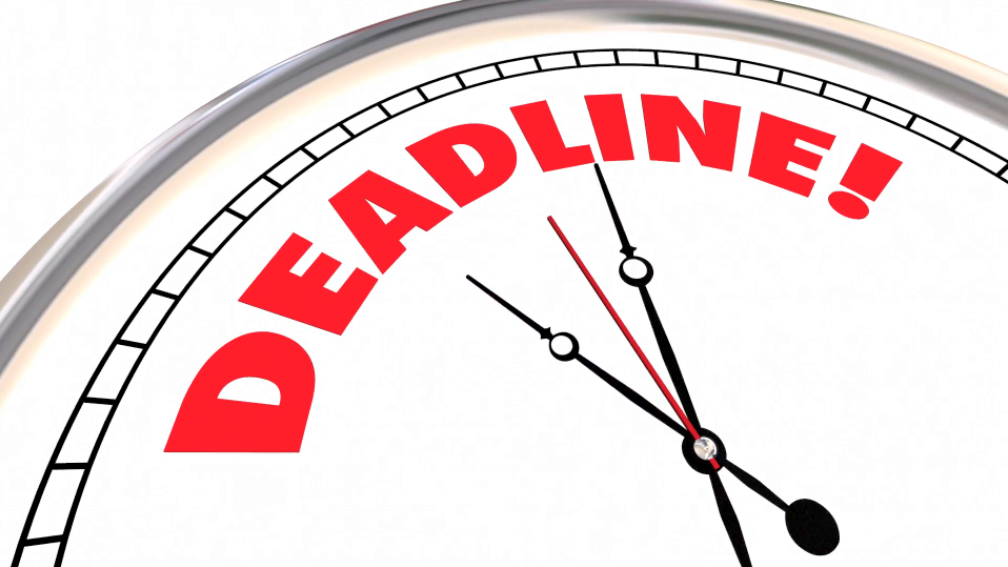 ve a specific deadline for when you need to get your printing back by, then please make sure you give us plenty of time to process it.
Are you aware of all the steps digital printing has to go through? Our ‘How it Works’ page has short video clips that fully explain the processes involved.
If only it were as easy as pushing a button! You could have it all the next day, but sadly it’s not that simple. Our complex, fabric dependant print process takes a number of days to complete. At any stage, something could go wrong. And, if our QC department don’t approve the final prints, we have to start all over again. This is essential to provide the high standards you expect.
The ‘comments’ box on the upload order page of our website is also handy for you to add any notes or instructions to. This includes your deadline. We do our utmost to achieve the dates noted at the time of ordering but unfortunately it’s not always possible.
Follow our guidelines to get the best out of digital textile printing in a fast and efficient way. Current processing times can vary throughout the year. Design shows, events and of course seasonal dates will put pressure on our normal production timeframe. Generally, please allow 7 – 10 working days from placing and paying for your order to be delivered to your door.