At The Silk Bureau we are often asked,
"Why aren't the colours exactly the same as the ones I see on my monitor when I'm designing?"
For many designers, getting the right colour is one of those challenges that comes with testing, time and experience.
There are many reasons why colours may appear a little different to those you have designed with.
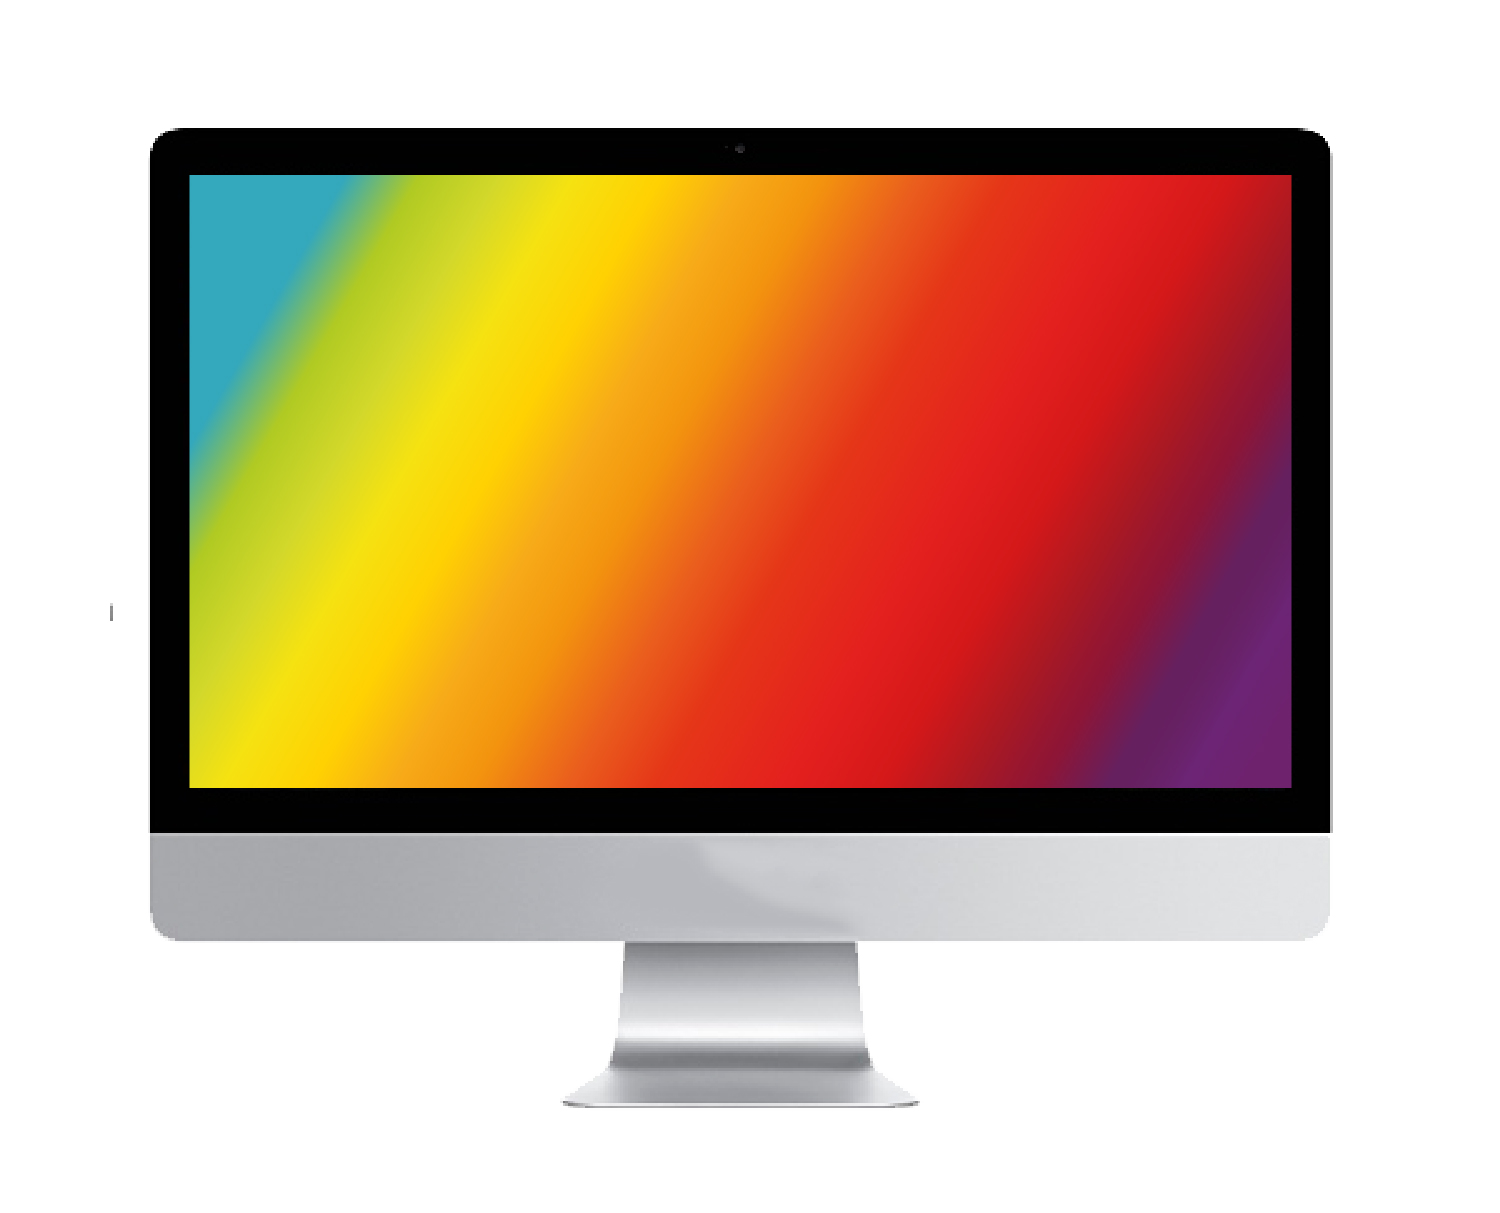
The most obvious difference is that a monitor emits light and a printer just uses dyes and pigments. Basically, you can’t print light!
The gamut of the printer is smaller than the array of colours you see on a back-lit monitor. Certain colours/tones will be beyond the capabilities of the dyes and out of the printer’s achievable colour gamut. A computer monitor can display over 16 million colours whereas a printer will offer thousands of colours, made up by combining a small number of coloured dyes.
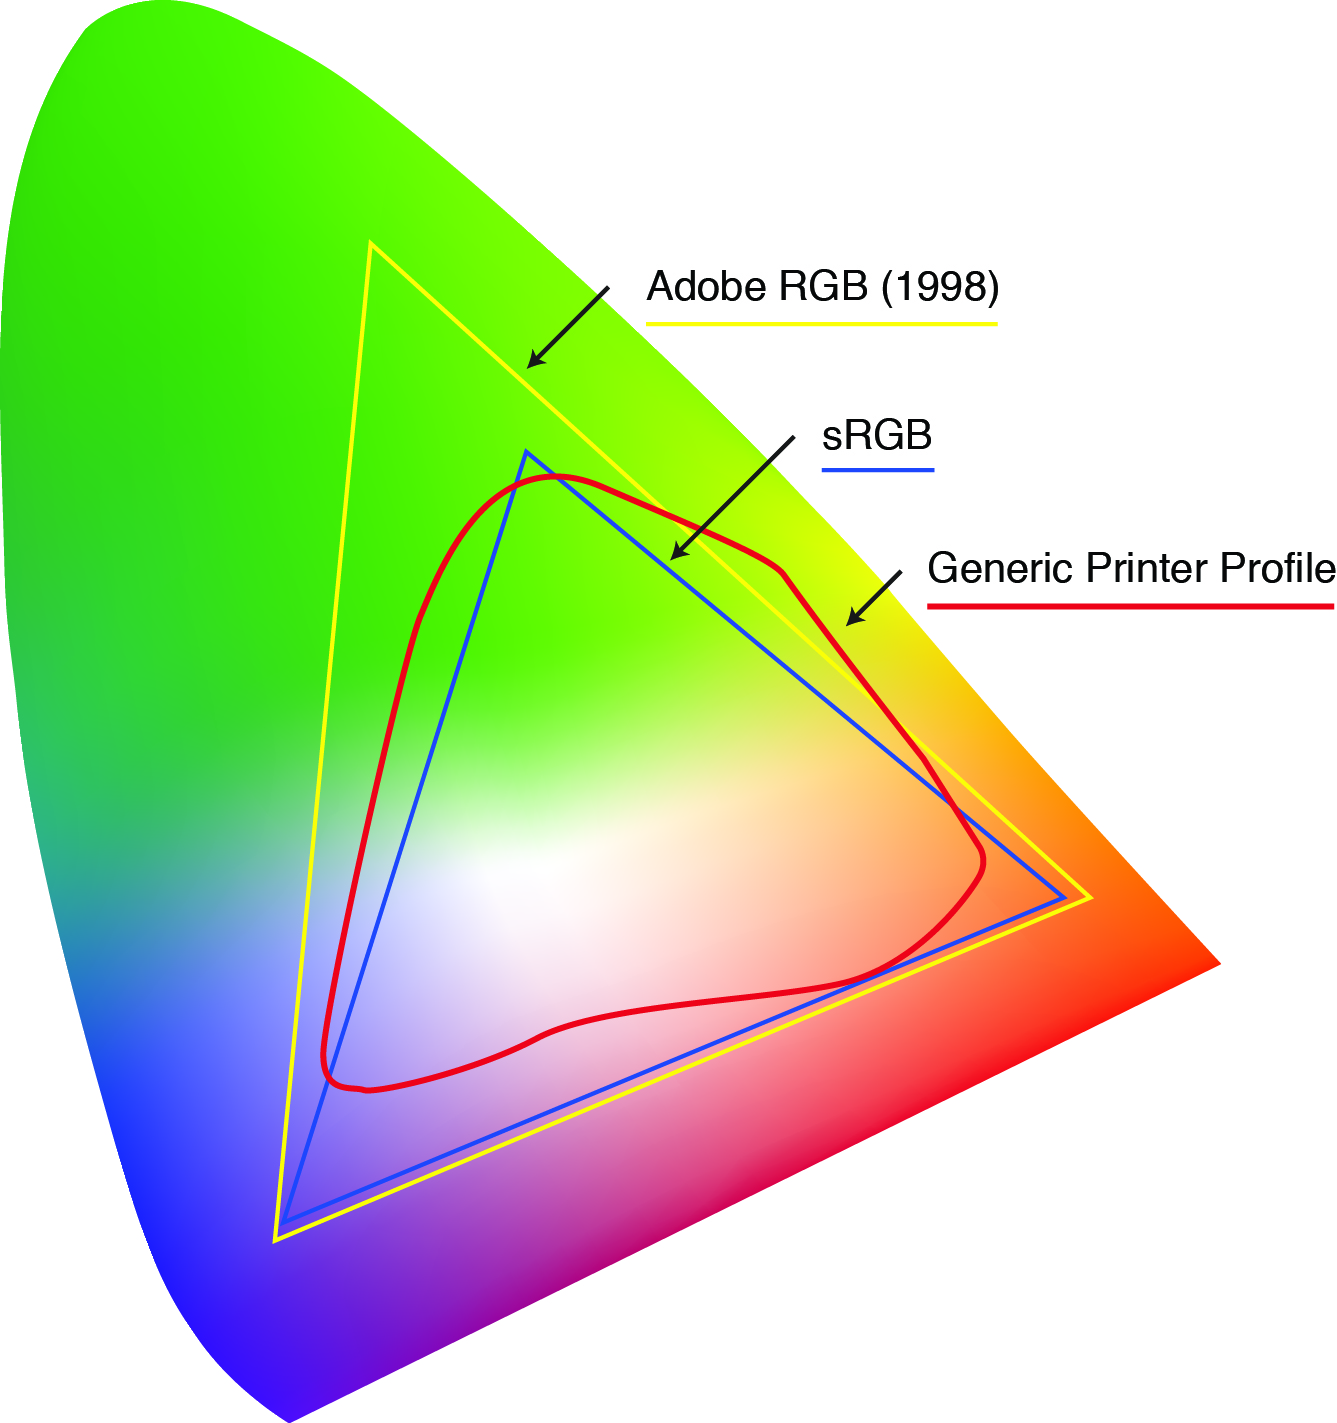
This diagram shows the gamut of visible colours. Note the area a Generic Printer can achieve and the sRGB and Adobe RGB colour profiles that you may typically choose in your artwork. The triangular areas show the millions of colours you see on screen and compares it to the achievable printer colours. The larger area is what we refer to as ‘out of gamut’, and will therefore print colour differently to how you see them on screen.
Colours will differ as the printer tries to match the closest colour to that selected in the artwork outside of its gamut.
The colour picker in Photoshop enables you to pick any colour from within the monitor profile, without regard to what is actually achievable on the printer.
Our monitors and printers are calibrated very precisely, to show us on screen how your design will print. Please be aware that what you see on your monitor may not be what we see on ours. You can view the same file on two different computers and see two different colours. Take a trip to any TV shop you will see all the TV screens display differently!
The fabric’s base colour will also influence the colours of your printed design. When looking on screen you will see a digital version of your colours on a light value of RGB (Red, Green, Blue) 255,255,255 which appears bright white. Our fabrics are mostly ivory, cream or off-white, none of which are the same as your monitor.
The process involved in printing the fabrics dramatically affects the results. Firstly, all our fabrics are specially coated to enable digital printing. When printing on fabrics the dyes penetrate the weave, rather than sitting on the surface. Once printed the fabric passes through a steamer to fix the dyes. The fabric must then be washed. It is during this process that the unfixed dye will be removed.
All these steps makes accurate colour matching extremely difficult to predict, as all fabrics are constructed differently, i.e., weave, weight, absorbance, etc.
All our printers have bespoke profiles written by AVA CAD/CAM, who are specialists in the management of colour for the textile printing industry. They ensure that we can achieve optimum colour results appropriate for each of our printers and the inks we use.

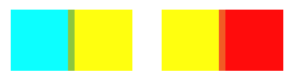
Colours can react differently depending on the colour they are positioned next to. For example, a Yellow next to a Blue may look a little Green where they connect. The same Yellow might look more Orange if it were placed next to a Red.
To get a more accurate idea of how your chosen colour will look, get a test print on the fabric you intend to use.
This can be done by creating a file of coloured chips, or by printing a cropped area of your file.
Please be aware that changes in technology, suppliers of dyes, fabric batches etc. will ultimately affect the hue of printed colours over time. It is therefore important to repeat your colour test print at regular intervals.
The Silk Bureau will endeavour to ensure there is minimal colour variation between batches of printing, however there are circumstances beyond our control that may cause differences when re-ordering.
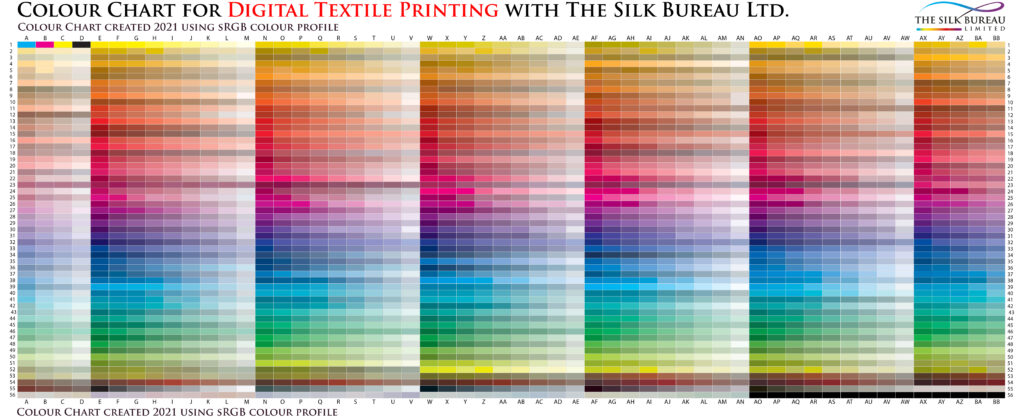
For a better idea of how colours print why not order one of our colour charts?*
This full width (135cm x 55cm) colour chart is packed with a range of colours to act as a physical reference to help you make informed decisions on the colours you choose in your artwork. The fabric chart also includes a digital JPEG file of our colour chart. Just drop us an email to get yours.
*The cost will vary according to the fabric you have selected. With a minimum fabric order of 1m, why not use the additional 45cm for design sampling or simply add to your current order?
To get the best results for your project always invest in a test print.
A physical test print is vital to truly understand how your colours display on printed fabric.
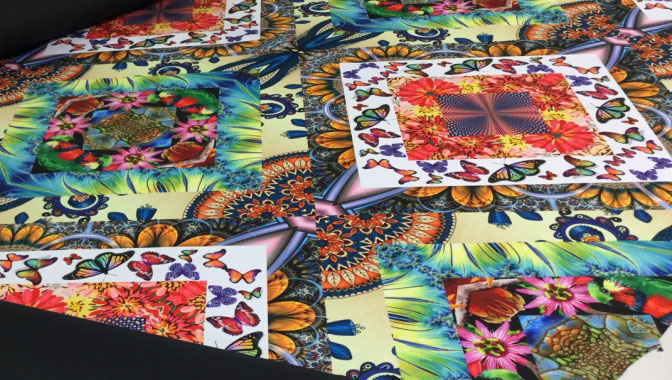
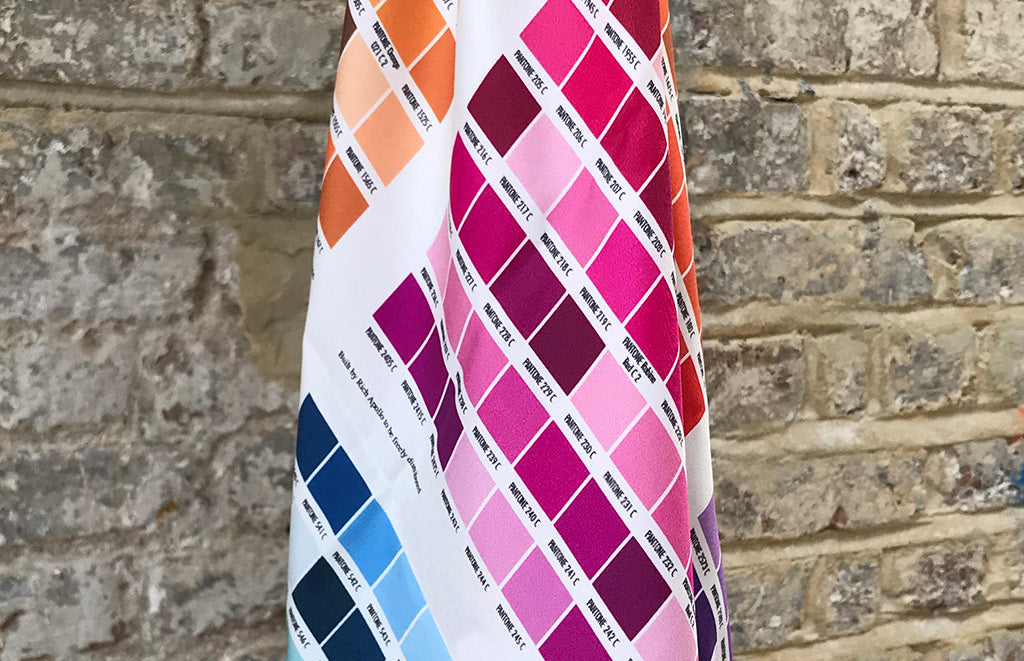
Header image courtesy of Gina Pipét.
Gina prints her own colour blanket containing all her favourite colours with The Silk Bureau that she refers to when designing her exquisite scarves. See our post on Gina for more information.
© The Silk Bureau Limited 2024
| Cookie | Duration | Description |
|---|---|---|
| cookielawinfo-checbox-analytics | 11 months | This cookie is set by GDPR Cookie Consent plugin. The cookie is used to store the user consent for the cookies in the category "Analytics". |
| cookielawinfo-checbox-functional | 11 months | The cookie is set by GDPR cookie consent to record the user consent for the cookies in the category "Functional". |
| cookielawinfo-checbox-others | 11 months | This cookie is set by GDPR Cookie Consent plugin. The cookie is used to store the user consent for the cookies in the category "Other. |
| cookielawinfo-checkbox-necessary | 11 months | This cookie is set by GDPR Cookie Consent plugin. The cookies is used to store the user consent for the cookies in the category "Necessary". |
| cookielawinfo-checkbox-performance | 11 months | This cookie is set by GDPR Cookie Consent plugin. The cookie is used to store the user consent for the cookies in the category "Performance". |
| viewed_cookie_policy | 11 months | The cookie is set by the GDPR Cookie Consent plugin and is used to store whether or not user has consented to the use of cookies. It does not store any personal data. |
The processes involved in digital textile printing causes the original fabric to shrink. If you are printing scarves, the size of the finished product will be important to you. For example, if you have square artwork, you will be expecting your finished scarf to be square!
To get the printed fabric closer to the size you need, all fabric intended for scarves must go through an extra step to reshape it. Please allow extra time on your deadlines to allow for this process.
Let us introduce you to the …
The stenter is an enormous piece of machinery that has many uses, including coating our fabrics and reshaping scarf orders.
After travelling through a solution to soften the fabric, it then passes over a flat bed, gripped on the selvedge edges to pull it back into shape.
It’s a long and precise process that needs to be carefully monitored.
If you have selected to use our hemming service, we will check the stentered fabric for you before we begin to finish your scarves. If you are not using our service, it’s up to you to check the size BEFORE you cut out the individual scarves from the fabric length. We cannot re-size after your scarves have been cut out.